
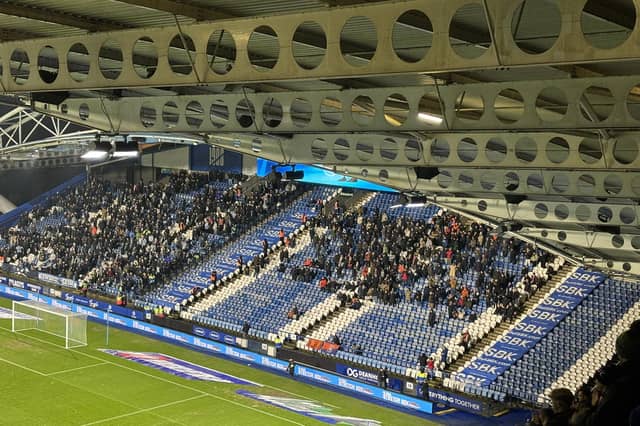

Luton’s quest for the Premier League was ended with a heartbreaking 1-0 defeat at Huddersfield Town in their play-off semi-final second leg clash last night.
The visitors dominated for long periods during the tie, but just couldn't get the goal they deserved, with Jordan Rhodes netting in the final 10 minutes to send the Terriers to Wembley.
To find out how the Hatters rated on the night, see below.

13. Nahki Wells (SUB): 4.5
Brought on just after the hour mark with Morris as part of a double sub that was meant to pep up the Hatters' attacking options, but it didn't really turn out that way. Despite going upfront to give Town a genuine striker on the pitch for the first time on the night, he was only able to have four touches of the ball in his half hour, as Luton persisted with their attempts in getting the ball wide or keeping it in midfield and not going through the centre, unfortunately rendering the forward fairly ineffective. Photo: David Horn

14. Ali Al-Hamadi (SUB): 6
One of the few bright-ish moments on the night as not only was the on-loan forward back on the bench for the first time in over two months, he was also able to come on for the closing stages as Town hunted an equaliser. Despite being on for just a short amount of time, he showed some signs of exactly what he can bring to the Hatters' front-line, able to run in behind the home defence on three occasions as although it didn't lead to anything tangible, it was still a promising cameo with hopefully more to come. Photo: Andy Rowland

15. Lamine Fanne (SUB): N/A
Midfielder came off the bench with four minutes to go as part of Wilshere's last throw of the dice, but the closing stages of the contest saw Huddersfield hold on to the points without any real alarm, Town continually giving away free kicks and allowing the hosts to relieve any pressure they might have been under. Photo: David Horn
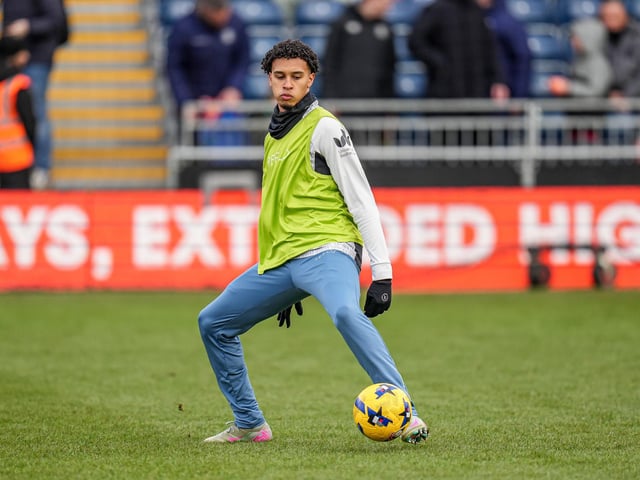
16. Emilio Lawrence (SUB): N/A
Youngster was brought on with Fanne at the death but his impact was limited, unable to get enough on one attempt to put the ball back into the danger area as it was easily cleared away. Photo: David Horn